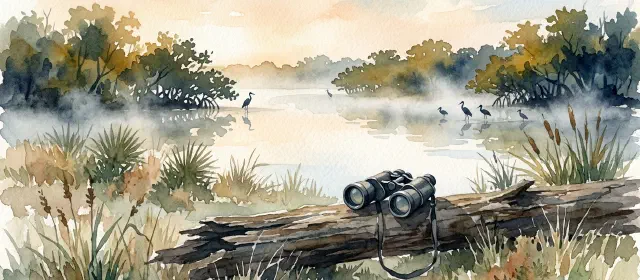
How to create a photo and video style guide for your outdoor brand
Your photos are everywhere - website, Instagram, booking confirmation emails, Google Business Profile. If they don’t look like they belong to the same brand, you’re leaving money on the table. A photo and video style guide for your outdoor brand is what fixes that, and it’s simpler to build than most operators think.
This isn’t about hiring a design agency or buying expensive gear. It’s about writing down the decisions you should already be making, so every piece of visual content - whether you shot it, a guide shot it on their iPhone, or a freelancer shot it - comes from the same recognizable place.
What a style guide actually is (and isn’t)
A style guide is a reference document. It tells anyone creating visual content for your brand what to shoot, how to shoot it, how to edit it, and what to avoid.
It is not a mood board. A mood board shows aesthetic inspiration. A style guide gives instructions.
The difference matters when you hand your iPhone to a guide for the day, share brand assets with a freelance photographer for the first time, or need a virtual assistant to post to Instagram without asking you thirty questions. The style guide does the explaining for you.
Start with what you actually want to communicate
Before you write a single technical spec, write one sentence that describes what your brand should feel like in a photo.
A whitewater outfitter on the New River in West Virginia might write: “Our photos should feel fast and honest - wet gear, real faces, big water.” A fly-fishing lodge on the Fryingpan River in Colorado might write: “Our photos should feel still and earned - first light on the water, quiet mornings, gear worn from use.”
Those two sentences will make every downstream decision easier: which shots to take, which to skip, which edits go too far.
Once you have your one sentence, add three or four supporting descriptors. Adventurous but accessible. Raw but not chaotic. Premium without being precious. These become the test you apply to every image before it goes live. If an image doesn’t fit the descriptors, it doesn’t go up - even if it’s technically a good photo.
Define your subject priorities
Not all shots are equal. Your style guide should rank what matters most.
For most outdoor operators, the hierarchy looks something like this: guests in action or at meaningful moments first, the environment and setting second, gear and equipment third. Landscapes without people are rarely your primary content - they don’t convert as well as images that show a person having a specific experience.
Most outfitters get this wrong. They shoot wide establishing shots and never get close enough to show faces, hands on oars, the expression of someone who just caught their first trout. Behind-the-scenes content your guides can film matters for the same reason - it shows what the experience actually feels like, not just where it happens.
Your style guide should specify whether you prioritize guest faces (with consent), guide expertise shots, action sequences, or environment-first imagery. Most operators need all four, but knowing your order of priority helps whoever holds the camera make faster, better decisions.
If you serve meaningfully different customer groups - say, a fishing lodge that books both families and corporate retreat groups - your style guide needs two distinct content lanes. The same editing style and color treatment, but different subject matter and emotional tone. Family imagery should feel warm and easy. Corporate-group imagery should emphasize achievement and camaraderie. Real photos versus stock photos matter here - showing your actual client type, not a generic version of an outdoorsy person, is the difference between a booking and a bounce.
Lighting and shooting guidelines
This is where operators either get practical or write a document nobody ever reads again.
For lighting, keep it simple: prefer natural light, avoid harsh midday sun except for specific dramatic effect, and shoot the golden hours when you can (roughly 45 minutes after sunrise, 45 minutes before sunset). Overcast days produce even, flattering light for close-up shots of people and gear. This isn’t new advice, but writing it down means your guide knows what to do when they’ve got 20 minutes before the next group launch.
Specify your lens or focal length preference when you can. A wide-angle look (24mm equivalent on phone, or 16-24mm on a proper camera) feels immersive and environmental. A standard focal length (35-50mm) looks natural and documentary. Telephoto (85mm+) compresses backgrounds and makes the environment feel dramatic behind the subject. Most outdoor content benefits from a mix, but picking a primary lens feel - wide and environmental versus standard and intimate - should be in your guide.
For video, nail down your frame rate. 24fps reads as cinematic and slightly more premium. 30fps is clean and natural. 60fps lets you slow footage down in post. For a small operator, the simplest rule: shoot everything at 4K/60fps if your device allows it, and edit in 1080p. You’ll have flexibility to slow B-roll, crop for Instagram Reels verticals, or punch in without losing quality.
Shutter speed should be double your frame rate - 1/120 at 60fps, 1/50 at 24fps. Keeping this rule in your guide prevents that signature over-sharp, jittery motion that screams “shot by someone who didn’t know the settings.”
Color and editing standards
This is the section most operators skip, and it shows.
Scroll through the Instagram feed of a typical outfitter. Some photos are warm and golden. Some are cool and blue. Some are heavily saturated. Some look like phone screenshots. When every image has a different color treatment, there’s no brand - just a collection of photos. We’ve seen operators with genuinely great imagery lose credibility simply because the feed looked like it was run by four different people.
Two decisions cover most of what you need: warmth (cooler versus warmer tones) and saturation (punchy and vivid versus muted and natural).
Outdoor adventure brands that feel premium tend to run slightly desaturated with warm shadows - think National Geographic documentary, not Instagram travel influencer. Brands targeting younger, high-energy demographics often run warmer and more saturated. Neither is wrong. Pick one and stay consistent.
The practical tool for enforcing this: a shared Lightroom preset. Free or cheap presets work fine - there are solid adventure-specific collections in the $15-40 range. Everyone on your team starts from the same baseline. You still adjust individual images, but the base tone is locked. For video, a shared LUT (look-up table) does the same job in Premiere or DaVinci Resolve.
Write down your specific settings if you use a custom preset, or name the preset you’ve standardized on and document your consistent tweaks (e.g., “Adventure preset, then shadows +15, highlights -20, tint slightly toward green”). Anyone you hire six months from now will get up to speed in ten minutes instead of ten weeks.
What to avoid
Every style guide needs a don’t list. The ones that appear most often in outdoor brand content:
Heavy filters that turn water unnatural shades of teal. Excessive HDR processing that flattens shadows and removes the mood from what should be a dramatic outdoor environment. Shots that are technically correct but emotionally empty - perfectly composed, nobody home. Stock photography passed off as actual brand photography.
Guest-submitted photos and video can fill gaps in your library authentically - raw iPhone shots with good natural light often outperform polished stock in conversion tests, because they’re real.
Other things worth spelling out: whether you use text overlays on photos (and what font/style if yes), whether branded watermarks appear on content, how you handle photos that include minors, and your policy on editing guest photos before sharing them publicly.
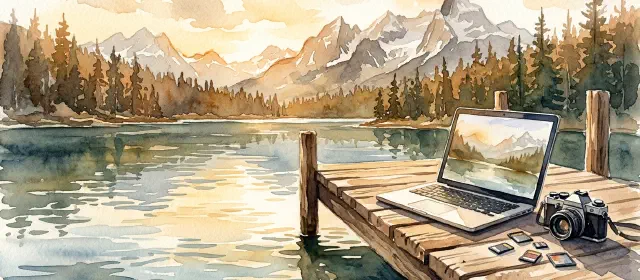
How to brief a photographer or videographer
The hardest part of maintaining visual consistency isn’t when you’re holding the camera. It’s when someone else is.
A one-page brief outperforms a forty-page style guide every time. Pull the key points - the one-sentence brand feel, the subject priorities, the lighting preferences, the editing standard - and turn them into a PDF you can email before any shoot. Photographers are visual people. Three to five reference images will communicate more than two pages of description. They don’t need to come from your own library; find examples from other outdoor operators or photographers that match the feeling you’re after.
Spell out the deliverables before the shoot: how many edited images, whether you get raw files, turnaround time, file format (JPEG vs TIFF), and whether you need vertical crops for Reels alongside standard horizontals. These aren’t awkward asks - they’re just professionalism. Any photographer worth hiring will have answered them dozens of times.
Keep it usable
A style guide that lives in a Google Doc no one can find is decoration.
The best format for a small outdoor operator: one single-page PDF with the core specs (shooting settings, editing preset name, subject priorities, the don’t list), plus a shared folder with example images in two or three categories (hero shots, action, environmental). Print a copy and post it inside your gear shed if your team is regularly in the field. Make the PDF the first file in your Dropbox shared folder, not buried three levels down.
Once your visual standards are set, build a content repurposing system around them. A single trip shoot can supply your website, email newsletter, social posts, and Google Business Profile photos - and when the look is consistent, none of it seems like a patchwork.
Review the guide once a year. Platform formats change (vertical video specs, aspect ratios), your clientele may shift, and the brand itself will mature. An hour of revision in November beats a total rebuild in March when bookings need to open.
Start with the one sentence. Write down what your brand should feel like in a photo - not what it looks like now, but what you want it to look like when someone sees it for the first time. Everything else in your style guide is just the instructions for getting there.